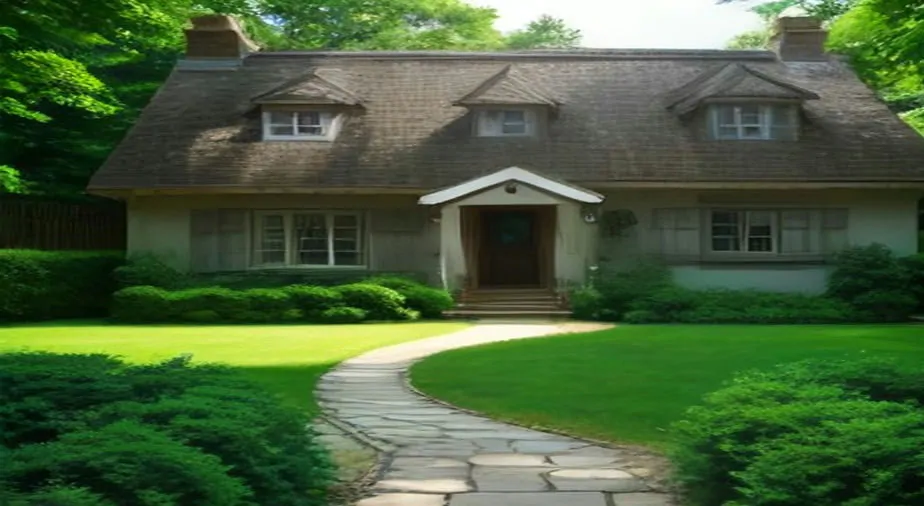
There is a particular pleasure in a before and after house photograph. The first picture shows peeling paint, a tired kitchen and a garden that has given up. The second shows the same address with its confidence back. That is why these transformations are so satisfying: they prove that an ordinary home can be remade without a mansion budget.
This guide is about how those changes actually happen. You will find a practical way to plan your own before and after houses, the seven upgrades that deliver the biggest visible difference, a simple way to photograph your progress, and the mistakes worth avoiding. No borrowed photos, no impossible budgets — just a clear route from tired to transformed.
Why before and after houses hold our attention
A finished home photograph only shows the ending. A before and after pair shows the journey, and that is what makes it believable. You can see what changed — the wall that came down, the floor under the carpet, the window behind heavy curtains. The best transformations are not about disguising a house; they are about letting it be more itself.
Start with the story your house already tells
Before you buy anything, walk through your home slowly and take notes. Which rooms do you avoid, and why? Where does the light fall in the morning? What do visitors notice first? Take plain, well-lit photographs of every room from the doorway, and measure the spaces you want to change. These unflattering “before” shots are your baseline, and they make the finished result far more rewarding.
The seven changes that make the biggest difference
Across countless before and after houses, the same handful of upgrades appear again and again. They are rarely the flashiest changes, but they deliver the biggest visible difference for the money.
1. Let the light in
Old houses are often dark because they were built for a time when one ceiling bulb per room was normal. Swap heavy curtains for lighter ones, trim the hedge that blocks the window, and add a lamp where you actually sit and read. A brighter room looks bigger, cleaner and more welcoming.
2. Paint with a plan
Nothing changes a room faster than paint, and nothing is cheaper. Choose one calm, warm neutral for the walls and repeat it through the house so rooms flow into each other. Paint ceilings a clean white. Fresh woodwork makes the whole room feel cared for.
3. Sort the floors
Floors set the tone for every room. Replacing worn carpet with wood, or refinishing the wood hiding underneath, changes how a home feels underfoot and how it photographs. If a full refit is out of reach, a deep clean and a good rug still lift the room enormously.
4. Give the kitchen breathing room
Kitchens shape daily life more than any other room. The smartest kitchen transformations are rarely full rebuilds: new handles, a fresh worktop, open shelving instead of a wall of cupboards, and a clear run of work surface. Clear counters and keep out only daily essentials, and the room looks calmer and larger.
5. Refresh the bathroom, not rebuild it
A dated bathroom often needs less than you fear. Re-grout the tiles, replace the toilet seat and taps, and add a mirror that bounces light around the room. A sparkling, well-lit bathroom reads as renovated even when the suite is unchanged.
6. Build storage into dead space
Clutter makes any house look tired. The fix is rarely more furniture; it is storage where the wasted space already is — under stairs, above doors, along a hallway wall. If you want ideas for calm, orderly rooms, these stylish organisation ideas show how baskets, labels and a place for everything keep a home looking finished.
7. Mind the front door
The outside of a house is the first thing visitors see and the last thing they remember. A painted front door, clean steps, a swept path and one healthy plant by the entrance can change the whole feel of a home for very little money.

How to take before and after photos that do your work justice
Good before and after photos need consistency, not a good camera. Stand in the same spot for both shots, use the same angle, and shoot at a similar time of day so the light matches. Tidy the room, but do not stage it beyond recognition — the point is an honest comparison. Take one wide shot from the doorway and two detail shots of the change you are proudest of.
Budgeting a transformation without the tears
Set your budget before you fall in love with materials, and keep 15 to 20 per cent of it unspent for surprises — old houses always have them. Spend first on anything structural, damp or safety-related, then on the changes you will see every day. Save on decoration and splurge on the things you touch: taps, handles, switches and flooring. These genius home tricks to save time and money offer small, thrifty wins alongside the bigger project.
Mistakes that flatten a good renovation
The most common error is copying a trend that does not suit the house. A Victorian terrace does not need to look like a new-build show home, and a cottage does not need grey-everything. Respect the period features you already have: original doors, fireplaces and floorboards are worth more than any catalogue finish. Other traps include cheap finishes in hard-use spots, doing everything at once, and skipping the permissions a structural change needs. A short read on common interior design mistakes helps you dodge the usual pitfalls.
A simple phased plan
Renovation is easier in phases. Phase one is declutter, deep-clean and repair the small things that nag at you. Phase two is paint, light and window dressings. Phase three is the bigger room projects — floors, kitchen, bathroom — one at a time. Phase four is the finishing touches: pictures hung, plants in place, and the front door painted. Finish one phase before starting the next, and the house stays liveable.
Frequently asked questions
How much does a before and after transformation cost?
It varies enormously. A paint-and-clean refresh can cost very little, while a full renovation runs into tens of thousands. Most satisfying transformations sit in the middle: a few targeted upgrades, done in phases.
Which room should I renovate first?
Fix anything structural or safety-related first, then start with the room you use most. For most people that is the kitchen or the living room, because the daily payoff is highest and the before and after difference is most visible.
Do before and after renovations increase a home’s value?
Often, yes — especially kitchens, bathrooms and curb appeal. But value depends on your local market, so spend in proportion to your home. A thoughtful renovation in keeping with the house serves you better than an over-specified one.
Every tired house is a before photograph waiting for its after. Start with light, paint and a clear plan, photograph your progress honestly, and let the house itself guide the changes. The result will be a home that feels like yours — and a pair of photographs that tell the story beautifully.